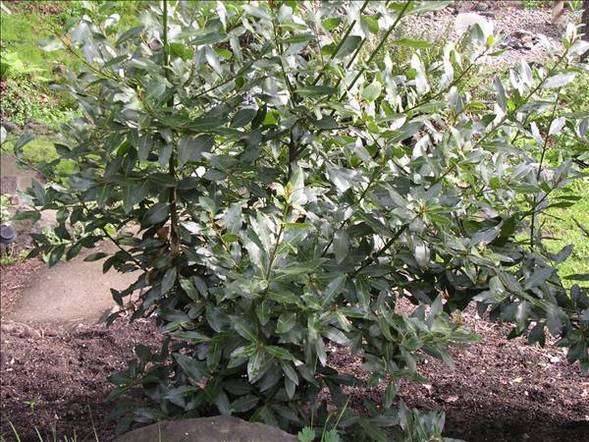
How to Grow a Bay Leaf Tree in Michigan

Overview Bay leaf is a sweet, pervasive flavoring that pops up in so many recipes that to not have it available is to not have a properly stocked pantry. In warm climates, cooks take it for granted that they can step outside the kitchen door and snip an evergreen leaf or two for their stews, soups and sauces. Unfortunately, the bay leaf tree is not hardy in Michigan, but this doesn't have to stop the home cook or gardener from having fresh bay leaf all year-round; it's easy to grow in a container.
Step 1 Prepare a pot by placing a few old pot shards on the bottom so the potting mix doesn't come out of the hole with each watering. An old piece of copper or nylon screening also works well and lasts a long time.
Step 2 Fill the pot with the potting mix until it is 1 inch deeper than the rootball of the plant. Tamp gently to prevent excessive settling when it is watered.
Step 3 Remove the plant from its container and place in the middle of the pot. Tamp more potting mix in the container to the top of the rootball.
Step 4 Scratch a little slow-release fertilizer into the potting mix around the rootball, following label directions.
Step 5 Water until the soil is moist and the water just starts to drain from the bottom.
Step 6 Add potting mix to make up for any settling that occurs during watering.
Step 7 Fertilize during the growing season with slow-release fertilizer according to label directions.
Step 8 Water the container deeply as the soil in the top of the container becomes dry.
Step 9 After leaving outside during growing season, retire the container to a sunny spot in the house about two weeks before the first frost and continue snipping leaves for recipes throughout the winter months.
Step 10 Return the container outside in spring after all danger of frost has passed.
Read more: How to Grow a Bay Leaf Tree in Michigan | Garden Guides http://www.gardenguides.com/102078-grow-bay-leaf-tree-michigan.html#ixzz15OiCOAmz
Step 1 Prepare a pot by placing a few old pot shards on the bottom so the potting mix doesn't come out of the hole with each watering. An old piece of copper or nylon screening also works well and lasts a long time.
Step 2 Fill the pot with the potting mix until it is 1 inch deeper than the rootball of the plant. Tamp gently to prevent excessive settling when it is watered.
Step 3 Remove the plant from its container and place in the middle of the pot. Tamp more potting mix in the container to the top of the rootball.
Step 4 Scratch a little slow-release fertilizer into the potting mix around the rootball, following label directions.
Step 5 Water until the soil is moist and the water just starts to drain from the bottom.
Step 6 Add potting mix to make up for any settling that occurs during watering.
Step 7 Fertilize during the growing season with slow-release fertilizer according to label directions.
Step 8 Water the container deeply as the soil in the top of the container becomes dry.
Step 9 After leaving outside during growing season, retire the container to a sunny spot in the house about two weeks before the first frost and continue snipping leaves for recipes throughout the winter months.
Step 10 Return the container outside in spring after all danger of frost has passed.
- "The All-New Illustrated Guide to Gardening: Planning, Selection, Propagation, Organic Solutions", Fern Marshall Bradley, Trevor Cole, 2009.
- Horticulture: Winter Herb Growing
Read more: How to Grow a Bay Leaf Tree in Michigan | Garden Guides http://www.gardenguides.com/102078-grow-bay-leaf-tree-michigan.html#ixzz15OiCOAmz